
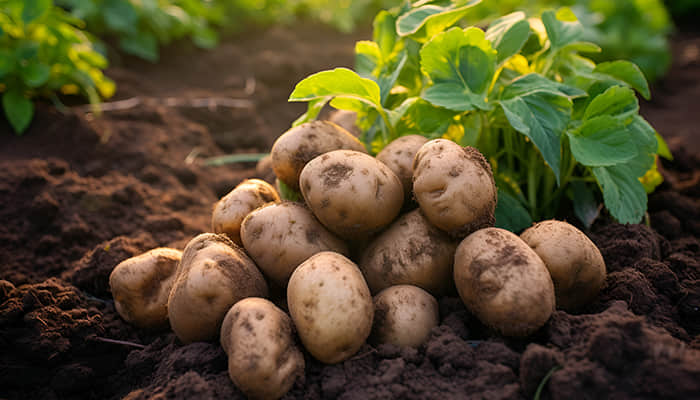
Potatoes are rich in dietary fiber, which can slow down the digestion of carbohydrates, resulting in a smaller impact on blood sugar levels. Plus, they are a great staple food as they are high in potassium, containing 502 milligrams of potassium per 100 grams. If you’re a potato lover, read on to learn how to grow organic potatoes at home, ensuring you always have a supply of your favorite tuber.
Potatoes belong to the category of tuberous plants and seeds, meaning they will continue to grow wherever you place them, especially during seasons with suitable temperatures and humidity. The growth of potato does not make the tuber itself larger but instead begins to slowly sprout. We’ve all heard from a young age that sprouted potatoes are toxic, and when eating them, you must cut off all the sprouts. If the sprouting is severe, the entire potato becomes inedible. This is the most reliable “rumor” we’ve heard from our parents, as sprouted potatoes indeed contain toxins.
However, cultivating sprouted potatoes is an excellent method for growing new potatoes. Compared to plants that start from seeds, sprouted potatoes grow faster, and you can harvest new potatoes the size of your palm in about three months. Here are the steps to plant new potatoes using sprouted potatoes.
1. Choose a deep plant pot
Firstly, you’ll need a large-capacity pot with a diameter of over 20 cm(7.87 in) and a depth of over 20 cm. A pot that is too small won’t hold enough soil or nutrients, which can slow down the growth rate and size of the potatoes. You can also opt for a deeper rectangular plastic container, which can provide more space for the potatoes to grow and help increase the yield.
2. Select the right potatoes
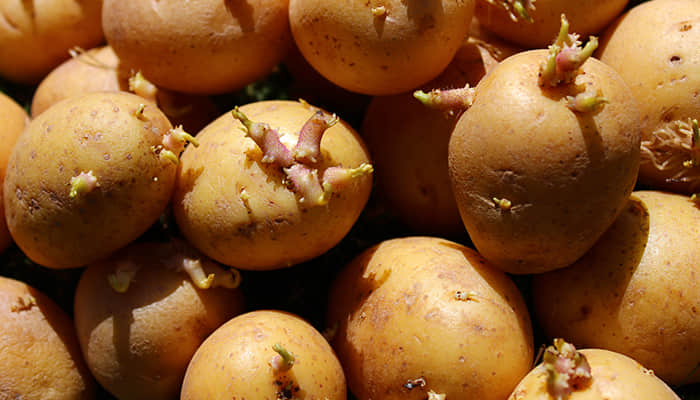
To ensure the potatoes you grow are delicious, there are some tricks to selecting the potatoes you plant. Choose those with a smooth surface (without cracks) and not too small in size. Before planting, you need to cut the potatoes into pieces and remove any bad parts. If the potato is too small, you may not have enough viable sprouts for planting.
3. Encourage sprout (if your potatoes haven’t sprouted yet)
Place the potatoes in a plastic bag, tie it tightly, and put it in a warm place. It will take about seven days for green sprouts to emerge. If the temperature is low, it may take longer.
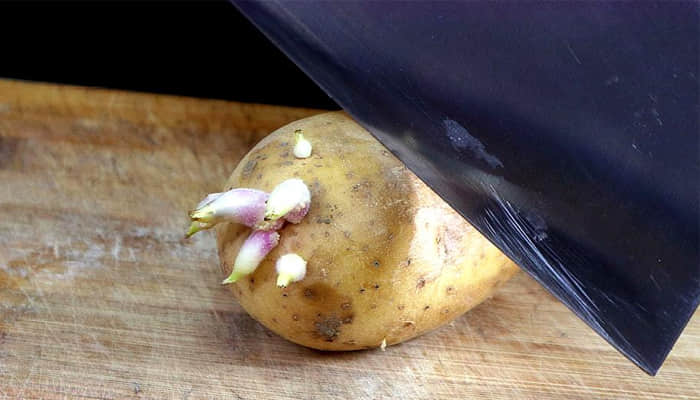
4. Cut the sprouted potatoes into pieces
Before cutting the potatoes, make sure to clean and, if possible, disinfect the knife by rinsing it with boiling water. When cutting, ensure each piece has one to two sprouts. Do not cut the flesh too thinly, as the sprouts still need the tuber to provide nutrients for growth.
5. Apply wood ash
Apply wood ash to the cut surfaces of the potatoes. Wood ash can act as a disinfectant, helping the potato pieces to heal and also has a certain antibacterial effect. Additionally, it helps to retain moisture, ensuring the sprouts can successfully break through the soil.
6. Planting time
If you’re in the northern United States, the best time to plant potatoes is between April and May. If you’re in the south, where the temperature difference is smaller, you can plant in March or April, or at any warm time(7°C to 21°C or 45°F to 70°F) of the year.
7. Soil selection and fertilization
Choose a fertile, loose, and well-aerated soil. You can mix humus soil, sandy soil, and peat soil. After that, mix a small amount of fertilizer into the soil and water appropriately to keep the soil moist.
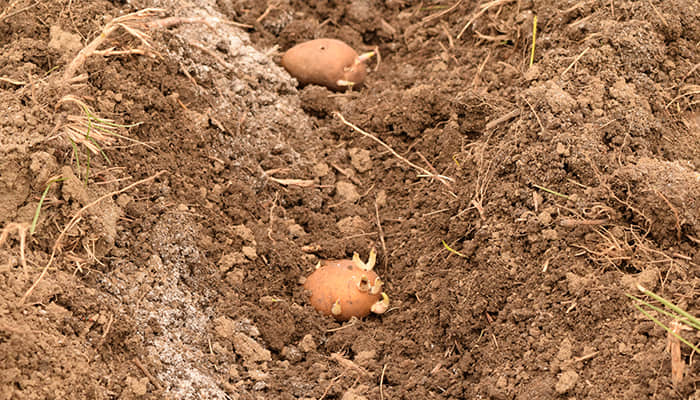
8. Planting
If planting potatoes in pots, place one to three pieces in each pot. If in a rectangular plastic box, the planting density should not be too high, generally kept within 15 to 20 cm. Dig a 5 cm(1.96 in) hole, place one seed piece, then cover with 1.5 cm(0.6 in) of soil, and wait for the sprouts to emerge before adding more soil.
9. Fertilization (after potato sprouts break through the soil)
After planting the potato pieces, the sprouts will break through the soil in about 5 days. At this time, we do not need to fertilize. Just keep the soil moist. This is because the main source of nutrition for the young potato plants is the potato piece, so there is no need for fertilization. If you need to add fertilizer, use nitrogen fertilizer because nitrogen can promote the growth of the sprouts.
10. Take out weak seedlings
When the sprouts grow to 10 to 15 centimeters, you need to observe the condition of all the sprouts. If some are in poor condition, remove them from the roots and retain the stronger ones.
11. Ensure adequate light
Make sure the potato plants have plenty of sunlight every day. The better the sunlight absorption, the faster the growth rate, and the stronger the stems will be.

12. Pruning and fertilizing
After the flowers emerge, cut them all off to reduce energy consumption and ensure that more nutrients are allocated to the fruits, increasing the yield. At this time, as the plant grows taller, use wood ash or organic fertilizer, which can promote an increase in the number of fruits. Fertilization can be done once a week.
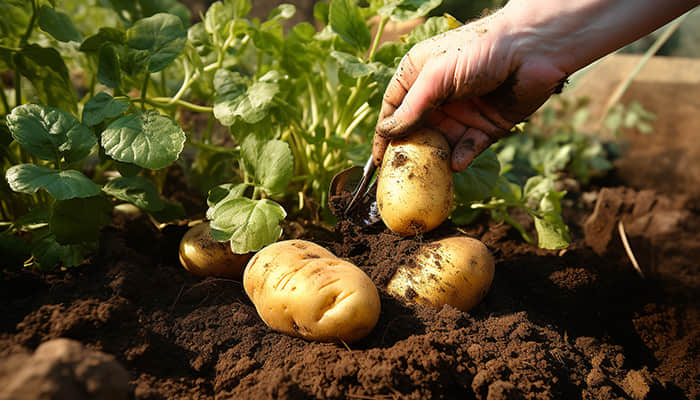
In actual cultivation, it usually takes 2 to 4 months from planting to maturity. To determine whether the potatoes are ripe, you can observe that the leaves of the plant begin to turn yellow and wither, which is one of the signs of potato maturity. In addition, you can also dig up one or two potatoes to check the size. If the potatoes have reached the desired size, they can be harvested.
Remember to be careful when harvesting potatoes to avoid damaging the tubers, as wounds are prone to bacterial infection. After harvesting, potatoes need to be dried in a dry, cool place and then stored in a well-ventilated area.