
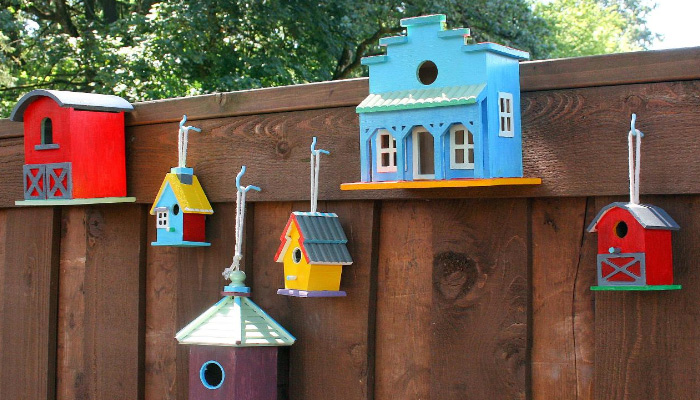
A safe, cozy birdhouse helps our feathered friends get away from bad weather and predators. And with so many bird species struggling, every little home counts!
Making your own birdhouse is not only satisfying but also eco-friendly. Forget the store-bought ones and get crafty with some old wood or screws instead of using those chemical glues. Plus, you can design it however you like!
Different birds need different-sized houses, so think about who you want to move in. This guide is perfect for small, common birds like chickadees, wrens, titmice, and house finches. You can adapt the dimensions if you want to attract specific birds.
Here’s what you’ll need:
[Materials]
– Plank(s) of wood: ¾ inches thick and six inches wide, totaling at least four feet in length
– 20 galvanized screws about 1 ½ inches long
– 4 galvanized screws about two inches long
– 6 ½-inch strip of rubber or roofing felt
– Small bag of wood chips
– Predator guard (optional)
[Tools/Supplies]
– Carpenter pencil
– Measuring tape
– Miter or circular saw
– Drill
– ¼-inch drill bit
– ⅛-inch drill bit (optional)
– Circular hole saw drill bit or jigsaw
– Ladder (if needed for mounting)
Step 1: Choose a Wood Type
Pine, cedar, or cypress are weather-resistant, well-insulated, and durable, making them perfect materials for building birdhouses. If you’re using reclaimed wood, make sure it’s untreated and unpainted to keep it safe for birds. You can also buy these wood planks at your local lumberyard. For an eco-friendly choice, look for FSC-certified wood.
Check out Habitat for Humanity ReStore for affordable secondhand tools and unused building materials like lumber and screws. It’s a great way to save money and support a good cause.
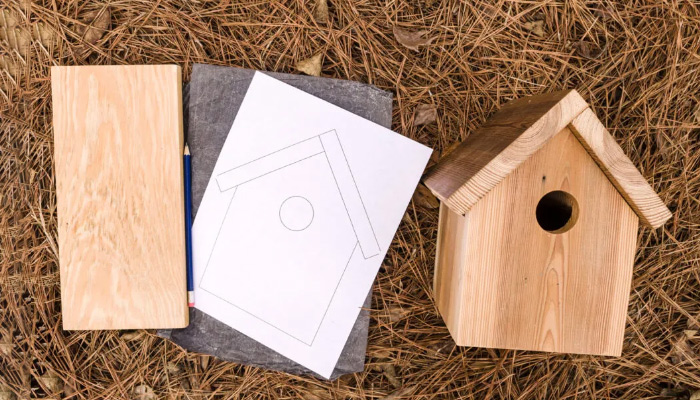
Step 2: Measure and Cut Panels
Use a measuring tape and a carpenter pencil to mark the dimensions for each panel of your birdhouse. Most panels will be rectangular, but the side panels will need two sloped edges to fit the angled roof.
Roof: 6 ½” x 6″
Base/floor: 5″ x 4 ½”
Front: 5″ x 7 ½”
Back: 5″ x 12″
Sides: 6″ (bottom) x 7 ⅕” (edge No. 1) x 9 ½” (edge No. 2); repeat for two identical side panels
Use a miter or circular saw to cut the wood safely.
Step 3: Assemble the Walls
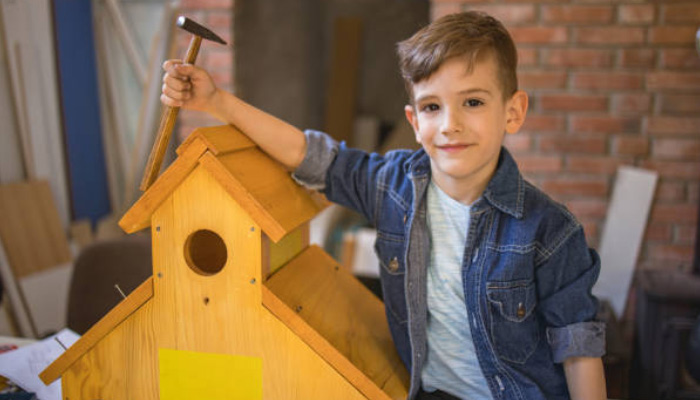
Assemble your birdhouse from the bottom. Attach the side panels to the base, leaving a ¾ inch gap on each side for the front and back panels. Screw the front panel onto the base and side panels, then do the same with the back panel, aligning it with the top edge and leaving some wood exposed underneath. This helps with mounting the birdhouse later.
You can use nails, but screws are better because they hold everything together more securely.
STEP 4. Drill Holes for Ventilation and Drainage
Take a ¼-inch drill bit and make four holes at the corners of the floor panel for drainage. For ventilation, drill two holes near the top edge of each side panel using a ¼-inch or ⅛-inch bit. This helps keep the chicks cool.
STEP 5. Cut the Entrance Hole
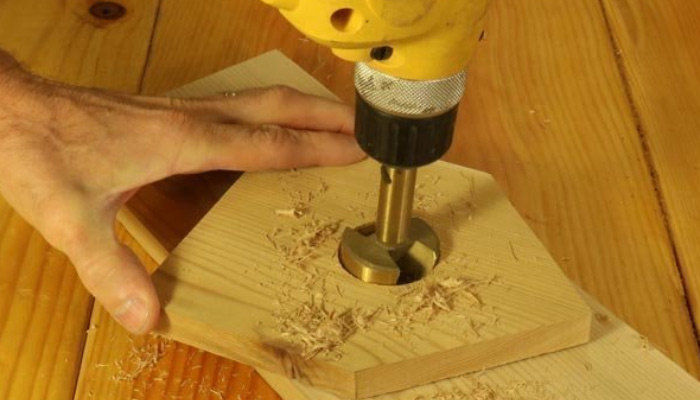
The entrance hole size is crucial if you’re attracting small birds like chickadees and wrens. To keep out bigger birds like house sparrows, which can fit through a 1 ¼-inch hole, ensure your hole is the right size. House sparrows are invasive and harmful to chickadees and bluebirds. They live almost everywhere in the U.S. except in dense forests.
Cut a 1 ⅛-inch hole that suits nuthatches, titmice, warblers, and smaller birds, measuring about five inches from the bottom. A circular drill bit, known as a “hole saw,” is ideal for this precise cut. However, a steady hand and a thin-bladed jigsaw can also work.
STEP 6. Install the Roof
To make cleaning easier, install a hinged roof. Instead of traditional hinges, use a strip of flexible rubber or roofing felt for waterproofing and extra insulation. Screw the rubber strip to the underside of the roof and inside the back panel.
STEP 7. Add Wood Chips
Place a thin layer of wood chips at the bottom of your birdhouse to mimic a freshly dug cavity. This helps attract birds to your nesting box and makes them feel more at home. A handful or two should be enough but use your judgment.
STEP 8. Mount Your Birdhouse
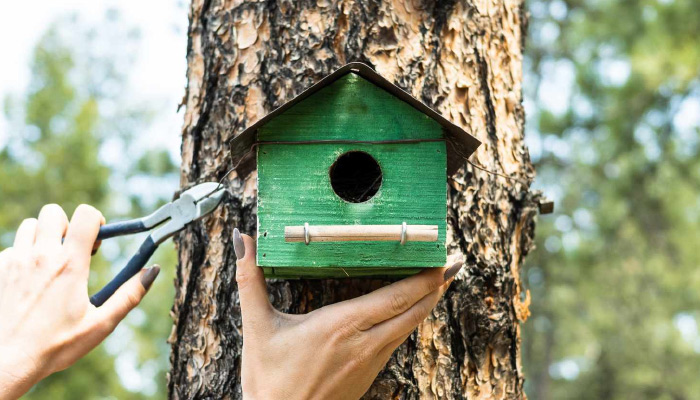
Mass Audubon suggests mounting a multispecies birdhouse between four and 20 feet high. You can hang it on a tree, fence, or house, but mounting it on its own post or pole is best for keeping other animals out. Use longer screws to attach the back panel directly to the pole, and consider adding a guard like a stovepipe to deter critters.
Frequently Asked Questions
Question: What Kind of Birds Use Birdhouses?
Common visitors include small songbirds like robins, warblers, and swallows, as well as larger birds such as owls and kestrels. Even waterfowl like ducks can utilize nesting boxes. It’s important to note that different species have specific preferences for the size, placement, and features of their birdhouses.
Question: Which Direction Should Your Birdhouse Face?
Birdhouses should be positioned to allow a clear flight path while avoiding strong sun and wind. This helps keep the birds safe and comfortable.
Question: What Type of Wood is Best for a Birdhouse?
The best woods for birdhouses are untreated, unpainted, and FSC-certified pine, cedar, and cypress. These woods are weather-resistant, provide good insulation, and are durable.