
Living in a small apartment or a home with limited outdoor space doesn’t mean giving up the joy of gardening. Even if you only have a narrow balcony, a tiny patio corner, or just a sunny windowsill, vertical gardens allow you to enjoy greenery without needing a traditional yard. Growing plants upward instead of outward maximizes space and can transform blank walls, fences, or railings into vibrant, living artwork.
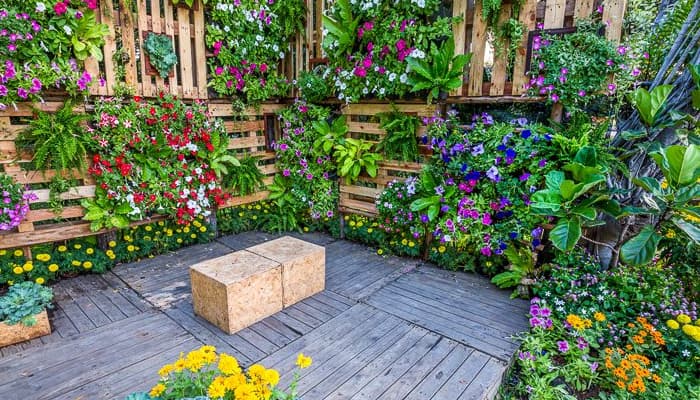
Vertical gardens aren’t just decorative—they can improve air quality, reduce stress, and even provide fresh herbs and vegetables right at your fingertips. Whether you’re a beginner or a seasoned DIY enthusiast, this step-by-step guide will show you how to create a thriving vertical garden in tight spaces.
Step 1: Choose Your Perfect Spot
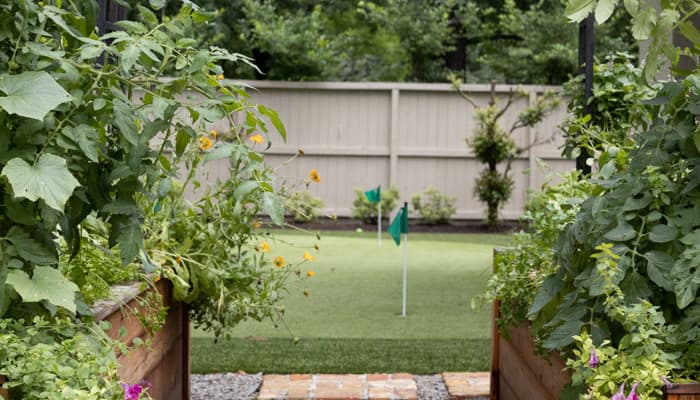
The first step in creating a vertical garden is selecting the right location. Most plants need at least 4–6 hours of sunlight each day, so aim for a spot that gets ample light. Good options include balconies, fences, patio walls, or a sunny corner inside your home. Even a small kitchen windowsill can be turned into a mini herb garden.
DIY Pro Tip: If sunlight is limited, choose shade-tolerant plants like ferns, philodendrons, or pothos. You can also supplement natural light with LED grow lights for indoor spaces.
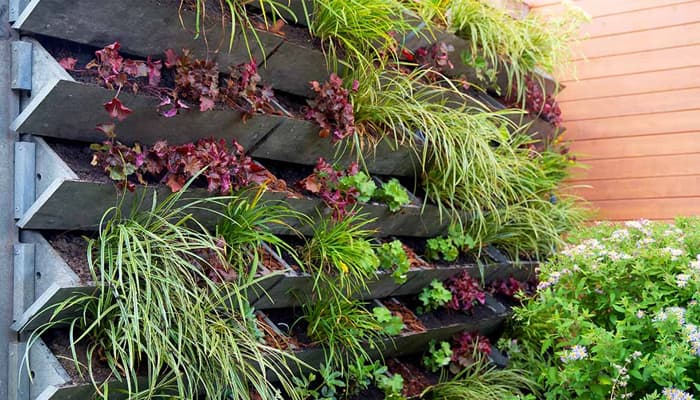
Step 2: Select a Sturdy Structure or Frame
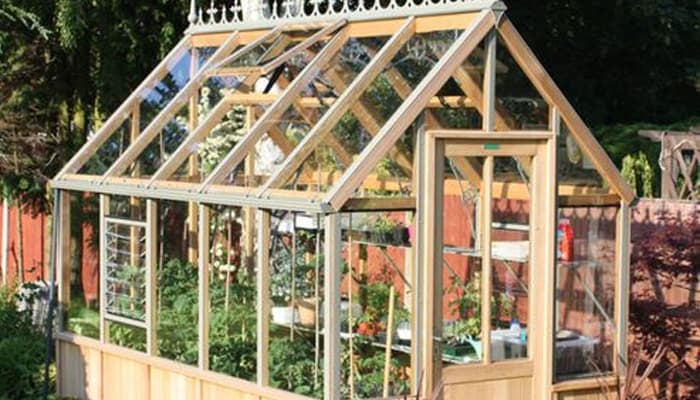
Your plants need a reliable base to grow on. Consider the following options:
- Wooden pallets – a rustic and budget-friendly choice.
- Trellises or lattice panels – great for climbing plants.
- Hanging shoe organizers or fabric pockets – perfect for herbs and flowers.
- Store-bought vertical garden kits – easy to install and maintain.
DIY Pro Tip: Sand wooden pallets thoroughly and apply a waterproof sealant to prevent rot. Attach a layer of landscape fabric or mesh to hold the soil securely.
Extra Tip: Think vertically in layers—stacking smaller planters or pockets can make your garden look fuller and more dynamic.
Step 3: Pick the Right Containers
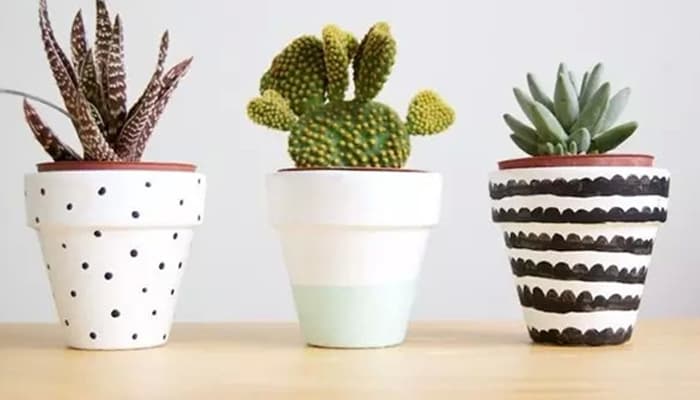
Choosing the right container is key to your garden’s success. Lightweight containers like fabric grow bags, pots, or recycled bottles are ideal. Make sure every container has proper drainage holes to avoid waterlogged roots.
DIY Pro Tip: Upcycle old tin cans, mason jars, or plastic bottles by drilling a few drainage holes at the bottom. Paint them with vibrant colors or patterns for a playful, personalized touch.
Extra Tip: Mix container shapes and sizes to create texture and depth, which makes your garden visually more interesting.
Step 4: Choose Plants That Thrive Vertically
Not all plants are suitable for vertical gardens. Focus on compact species with shallow root systems. Good options include:
- Herbs: basil, parsley, mint, thyme
- Leafy greens: spinach, arugula, lettuce
- Flowers: petunias, pansies, marigolds
- Climbers: ivy, philodendron, jasmine
DIY Pro Tip: For an edible garden, plant herbs and greens on lower tiers and flowers on upper tiers to ensure proper light and watering. Layering plants by height and sunlight needs helps keep your vertical garden healthy and visually balanced.
Extra Tip: Combine cascading plants with upright varieties to create a dynamic, full look that draws the eye upward.
Step 5: Set Up Watering and Maintenance

Vertical gardens dry out faster than traditional gardens, so you need a proper watering strategy. Gravity can leave top plants dry while overwatering lower plants. Options include:
- Drip irrigation systems for even water distribution
- Self-watering planters with reservoirs at the bottom
- Manual watering with a small watering can, pouring slowly from the top
DIY Pro Tip: Stick your finger into the soil—if the top inch feels dry, it’s time to water. Rotate plants occasionally so all sides receive sunlight, which encourages even growth.
Extra Tip: Apply a slow-release liquid fertilizer every few weeks to keep plants strong, and prune regularly to remove dead leaves or encourage new growth.
Step 6: Add Final Touches and Enjoy

Once your plants are in place, it’s time to make your vertical garden uniquely yours. Add small decorative elements like fairy lights, wooden labels, or garden ornaments. Painting or decorating your planters before mounting them adds a personal, artistic touch.
DIY Pro Tip: Use chalkboard paint on plant labels so you can easily rename plants as you swap them out. This keeps your garden fresh and adaptable.
Extra Tip: Try grouping aromatic herbs near outdoor seating areas or your kitchen to enjoy their fragrance and culinary use at the same time.
Make Your Space Bloom
A vertical garden doesn’t need a professional landscaper or a large budget to make a real impact. With a few recycled materials, thoughtfully chosen plants, and a little hands-on effort, even the smallest corner of your home can become a vibrant, living retreat. Start with one panel, experiment with different plant combinations, and watch your creativity grow along with your greenery.
Your walls, railings, and corners hold endless potential—turn them into lush, thriving spaces that bring freshness, beauty, and joy to your home.